
Starting a CNC Machine Shop? What New Owners Should Know About End Mills
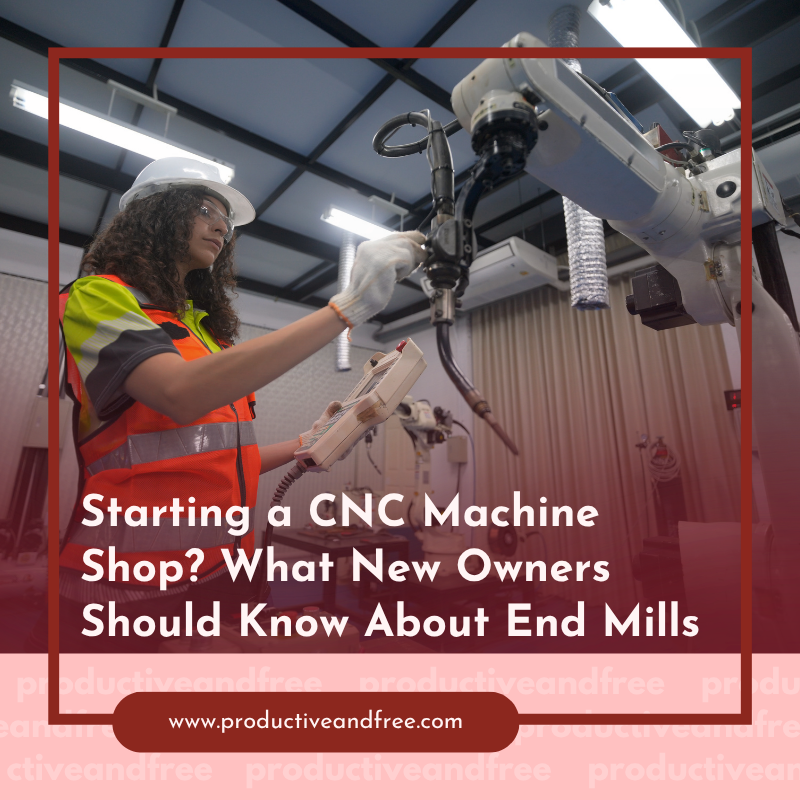
The machine is bolted down, the power is hooked up, and your first customer job is sitting on the bench: a batch of aluminum brackets due Friday. You load the program, hit cycle start, and thirty seconds later you're staring at a snapped cutter, a scrapped part, and a very expensive lesson about the smallest, most overlooked component in your shop.
New machine shop owners tend to obsess over the big purchases. The machine, the software, the workholding. Those matter, but the tool actually touching the metal is what determines whether your parts come out right, how long each job takes, and how much money you lose to breakage and rework. End mills are the workhorses of CNC milling, and understanding them early will save you more than almost any other piece of knowledge. Here's what you need to know before you order your first batch.
Why Tooling Deserves Your Attention
The machining trade is in a stretch where skilled hands are scarce and every hour of spindle time counts. According to the U.S. Bureau of Labor Statistics, about 30,400 openings for machinists and tool and die makers are projected each year through 2035, largely to replace experienced workers who are retiring.
For a new shop, that means you often can't hire your way out of tooling mistakes. You need processes that are efficient and predictable from the start, and the right end mills are the foundation of that.
End Mill Basics, Fast
An end mill is a rotating cutter with teeth on its end and sides, used to remove material by moving through the workpiece. The main variables you'll choose between are:
Material: high-speed steel (HSS) is affordable and forgiving; solid carbide is harder, runs faster, and lasts longer but is more brittle
Flute count: 2 or 3 flutes clear chips well in aluminum and plastics; 4 or more give better finish and strength in steel
Coating: TiN, TiAlN, AlCrN, ZrN, and others reduce friction and heat, extending life in specific materials
End type: square for flat floors and sharp corners, ball nose for contours, corner radius for strength and finish
Length: stub tools are rigid; long-reach tools flex, so use the shortest tool that reaches
Every job is a combination of these, and there's rarely one tool that does everything well.
Match the Tool to the Material
This is the mistake that breaks the most cutters in a new shop. A tool designed for steel will gum up and weld chips in aluminum. A tool designed for aluminum will dull instantly in stainless.
Aluminum: 2 or 3 flutes, sharp edges, polished flutes, uncoated or ZrN coated
Mild and alloy steel: 4 flutes, TiAlN or AlCrN coating, moderate helix
Stainless and tough alloys: variable-helix carbide, heat-resistant coatings, conservative speeds
Plastics and composites: very sharp, often single- or 2-flute, sometimes diamond-coated
Buy for the materials you'll actually cut most, not for the exotic job you might land someday.
Build a Practical Starter Set
You don't need a hundred tools on day one. A sensible starting inventory covers the common sizes and operations:
Square end mills in 1/4", 3/8", and 1/2" (or 6, 10, 12 mm) in both aluminum and steel geometries
A couple of ball nose cutters for 3D work
Corner radius end mills for stronger roughing and better floor finish
A few smaller tools (1/8" or 3 mm) for fine detail
Spares of your most-used sizes, because breakage happens
Where you source these matters as much as what you buy. When you're comparing End Mills for CNC milling, look for a manufacturer that publishes clear specifications, offers coatings matched to specific materials, and provides recommended speeds and feeds rather than leaving you to guess.
Dohre's catalog is organized this way, with carbide end mills grouped by application and material so a new shop owner can build a coherent starter set without wading through thousands of near-identical SKUs. Being able to reorder the same tool and get the same performance every time is worth more than saving a few dollars on a mystery-brand cutter.
Speeds and Feeds Are Not Optional
Most tool failures in a new shop come from running the wrong parameters, not from bad tools. Every reputable manufacturer provides recommended surface speeds and chip loads for their end mills. Use them as your starting point, then adjust based on how the cut sounds and how the chips look.
A few rules of thumb:
Carbide likes to run fast; running it too slow causes rubbing, heat, and premature wear
Take a full chip load; too light a cut is as damaging as too heavy
Use proper coolant or air blast to evacuate chips, especially in aluminum
Keep tool stick-out to a minimum
Climb mill where possible for better finish and tool life
Invest in a speeds-and-feeds calculator or reference chart and actually use it.
Tool Holding and Runout
An excellent end mill in a poor holder performs like a poor end mill. Cheap collets and worn holders introduce runout, which means one flute does most of the cutting, tool life drops, and finish suffers. Budget for quality ER collets or hydraulic and shrink-fit holders as your volume grows, and check runout with an indicator when you set up a new tool.
Track What You Use
From your first job, keep a simple log: which tool, which material, what parameters, and how long it lasted. Within a few months you'll have data that no catalog can give you, tailored to your machine and your work. That record tells you which tools to stock deeper, which to drop, and where your parameters need adjusting.
Know When to Replace a Tool
Running a dull end mill to save money costs more than a new one. Signs it's time:
Poor surface finish or burrs that weren't there before
Rising spindle load or unusual noise
Chips changing color or shape
Dimensional drift on parts
Visible chipping or wear on the cutting edges
Set replacement points based on your log rather than waiting for failure.
Conclusion
End mills are the smallest line on your startup budget and one of the biggest influences on whether your shop makes money. Learn the basics of material, flute count, coating, and geometry, buy a focused starter set matched to the work you'll actually do, and source from a manufacturer whose specifications and consistency you can rely on.
Run the recommended parameters, hold your tools properly, and keep records from day one. Do that, and the snapped cutter on your first job becomes a story you tell rather than a pattern you repeat.






















Share in the comments below: Questions go here

Ready to elevate your small business? Learn simple AI steps you can start using today to enhance productivity and drive growth effortlessly!