30+ Squarespace Tips and Tricks Even Non-Designers Could Benefit From

You probably know by now that your website is the central hub of your business. It’s where people find you, learn more about your business, read your blog, book your services, or purchase your products.
While it’s no surprise that a lot of thought and strategy need to go into building your website, there’s no need to spend more time than necessary to get it up and running. For this reason, I suggest using Squarespace to build your site.
Squarespace is not just a website builder; it’s an all-in-one content management system or CMS. With your subscription, you have access to their user-friendly platform, content hosting, well-designed templates, built-in security and analytics, 24/7 support, and many more. Squarespace is also one of the best SEO friendly Website builders, allowing for search engine optimization to help your website rank higher in search results.
I admit, there were many things I didn’t know about the platform in the beginning so I ended up figuring a lot of it out on my own. But since I’ve learned a lot since then and I don’t want you to waste as much time as I did, here are 31 Squarespace tips and tricks that even non-designers (like me) could benefit from.
Note: These tips were written for Squarespace 7.0 and Squarespace has since released a 7.1 version. Some features and functionalities may be different or unavailable.
1. Refer to Squarespace support
It’s best to mention this as the first tip and let you know about this helpful resource before moving forward. If you ever have questions or if you need assistance with the platform, Squarespace has a 24/7 customer care team you can turn to and if you’re interested in code solutions, workarounds, or tips from other Squarespace users, check out the community forum called Squarespace Answers.
2. Compare templates first
When I first signed up for Squarespace, I had no idea what template to choose or what features I needed. So I did what any other non-designer might’ve done—choose the template that looked the prettiest.
It was only later on that I realized I wanted a blog with a sidebar, headers that run across the page, a navigation button, a stackable index, and many more. This is why I switched to the Hayden template but in your case, make sure to look into each template’s features and see if those are indeed what you need. Definitely test those during your free 14-day trial period.
Click here for some template comparison charts made by Squarespace and click here for one made by UsingMyHead.com.
Update: The newer Squarespace version 7.1 still has templates for you to choose from but all of them have the same functionality.
3. Create a logo with Squarespace
Not a lot of people know this but you can create your own logo using Squarespace’s logo maker. If you’re already a customer, you get to download the hi-res version for free but if not, you can purchase one for $10.
4. Add a favicon
A favicon (or "favorite icon") is the icon associated with your website and web pages. It’s often seen in your browser tab (right before the page name) but it’s also displayed when your page is bookmarked. For example, ProductiveandFree.com’s favicon is an orange checkmark.
Treat your site’s favicon as a branding opportunity by changing the default Squarespace favicon to your logo or some other icon you want to represent your site.
Go to Home > Design > Logo & Title > Scroll down to Browser Favicon

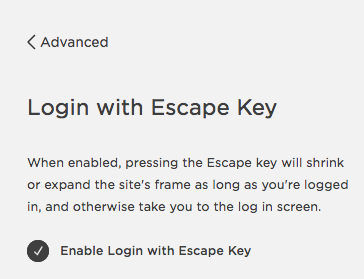
5. Enable the Esc key to login quickly
You have the option to quickly log into Squarespace by pressing the Esc key on your keyboard whenever you’re viewing a Squarespace site.
Go to Home > Settings > Advanced > Login with Esc Key
6. Double click the arrow to jump to Home
Whenever you’re inside a subpage, you can quickly jump to the Home window by double clicking the top page navigation arrow from the left sidebar menu.

7. Add a site description for search engine optimization (SEO)
Whenever someone uses a search engine to find your site, you can make sure it displays the information you want.
This will not update immediately but you should see the changes within a few hours/days, depending on the age and ranking of your site.
Go to Home > Settings > SEO
Here’s what Google shows when you search for my site:

8. Change the blog URL slug
You can help search engines find and categorize your site pages by editing the URL slug.
Make sure to do this for your blog before you publish any posts otherwise your blog post URL might look something like this: www.yoursite.com/2018/10/9/title
I suggest removing the publish dates and naming your blog page as it is (/blog) with targeted keywords instead (ex. www.yoursite.com/blog/insert-targeted-keyword).
Go to Home > Pages > Blog > Settings (the cog icon) > URL slug

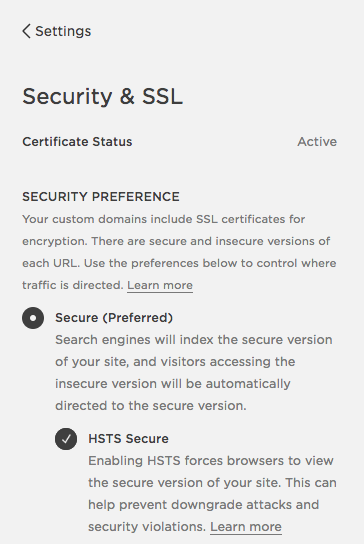
9. Secure your site with SSL
SSL (Secure Sockets Layer) is the standard security protocol for establishing an encrypted link between a web server and a browser, and this is built-in already with your Squarespace site.
Go to Home > Settings > Security & SSL
10. See how your site looks when using other devices
You can check how your site looks when using different devices to make sure everything is displaying how you want it to. Simply click on the line/down arrow icon at the very top of your editing window and select the mobile, tablet, or desktop icon.

11. Answer comments all at once
No need to individually open up every single blog post that has a new comment.
Go to Home > Comments

12. Integrate social media
It’s easy to integrate your Squarespace site with your social media accounts. This is helpful to encourage people to share your posts or follow you on different platforms, and you can even push blog posts and products to your social media accounts as soon as they’re live.
Go to Home > Settings > Connected Accounts

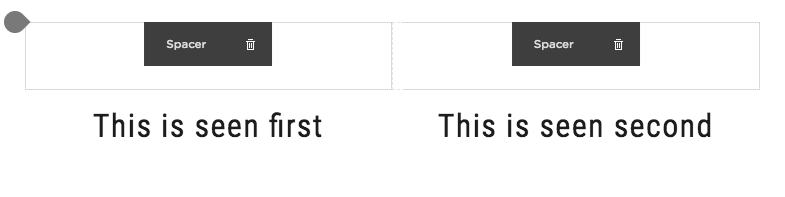
13. Use spacers as guides
One of the best features of Squarespace is that it’s mobile-ready; however, the order of your content blocks as seen on different devices may differ from how they look from the desktop view.
I suggest inserting spacers first and then use these as guides to add your content in the correct order. Then once you’re happy with the layout, simply delete the spacers.
14. Create a secret page for your design guide
It can be challenging at first to set up your design settings and make sure they all match and complement each other.
Make it easier for yourself by first creating a secret unlinked page to use as a template. Fill it with various design elements (ex. headers, link color, button sizes, image displays, etc.) and then edit the style settings as you please.

15. Add linked pages
You can easily direct visitors to pages within or outside your website by using linked pages.
For example, in the footer section of ProductiveandFree.com you’ll see a navigation tab named “Community” which will lead you directly to my free Facebook group for entrepreneurs.

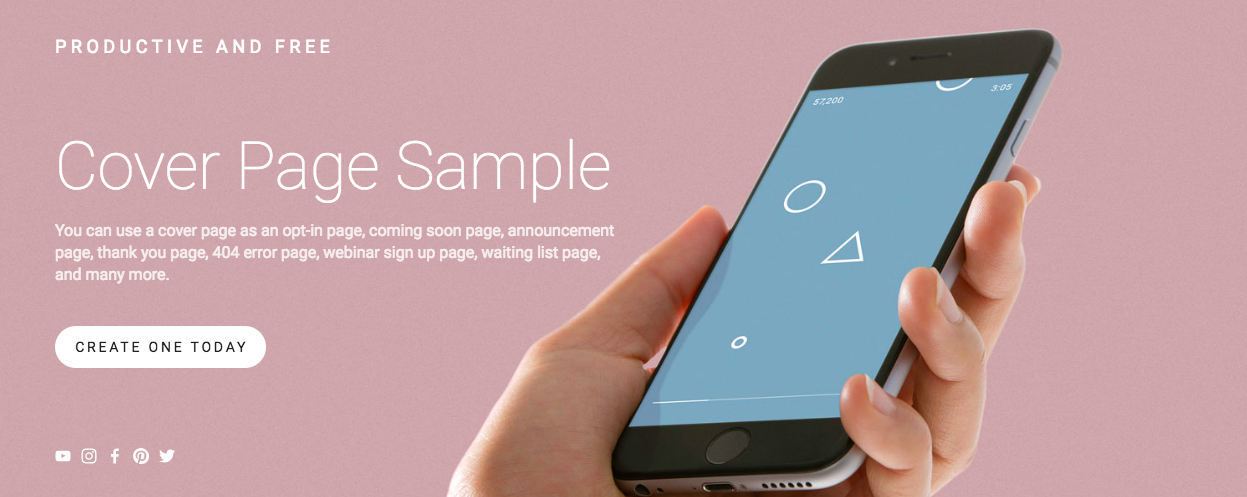
16. Use cover pages as landing pages
Cover pages is one of the most versatile and powerful features of Squarespace. These dedicated landing pages are easy to create and they allow you to highlight a single message to encourage a visitor to take a specific action.
You can use them as an opt-in page, coming soon page, announcement page, thank you page, 404 error page, webinar sign up page, waiting list page, and many more.
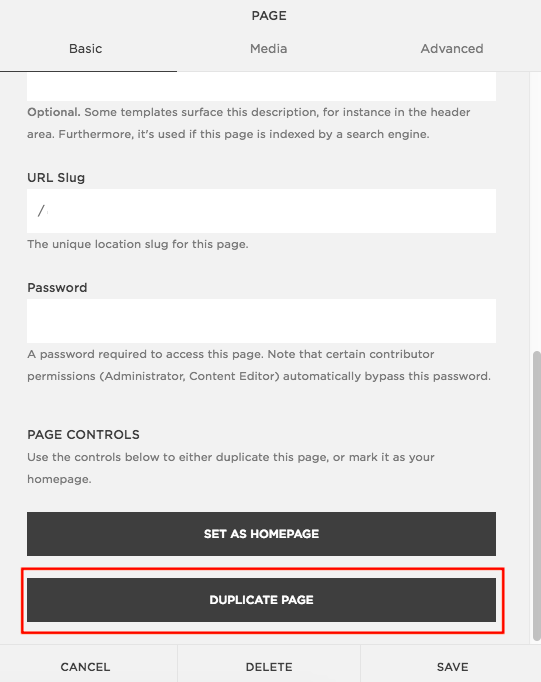
17. Create page templates and simply duplicate
If you style several pages in a similar way, consider creating page templates and then simply duplicating them whenever you need to create a new one.
This can save you time and energy when creating multiple webinar pages, sales pages, client portals, thank you pages, opt-in pages, portfolio pages, testimonial pages, and many more.
18. Create a blog post template
You can take creating page templates one step further by creating blog post templates as well.
For example, since all my blog posts follow a certain format—vertical blog image, blog post text, opt-in or CTA, and related posts—I’ve created a template in my Squarespace blog page which I simply copy whenever I publish new blog posts.
+ Related post: How I Created a Blog Post Template in Squarespace
19. Use summary blocks to highlight related posts
To encourage your website visitors to stick around, consider adding related posts within your blog posts. You can do this by simply adding links to text or by adding a summary content block as shown below.


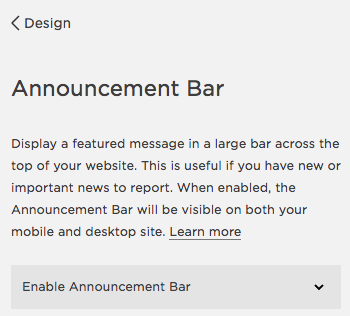
20. Enable the announcement bar
You can enable an announcement bar to appear at the top of your website, across all your pages. This is helpful if you’re looking to highlight an important call-to-action (CTA) for your visitors in a way that isn’t as disruptive as a pop-up window.
Simply go to your style settings, choose the bar color and text color you want, edit the text, and insert the URL you want to direct people to.
21. Use Acuity Scheduling for free
If you’re a Squarespace customer, you get a free Acuity Scheduling Emerging Entrepreneur Plan which you can use to schedule meetings and share your calendar with customers and clients.
After you set up your account, simply add the integrated content block to any page you want.

22. Paste as plain text
If you’re pasting text to Squarespace from an outside source (ex. from Google Docs, Pages, or MS Word), the text formatting might be different from that of your site.
Try pasting your text without formatting and then just change the formatting within Squarespace. You could do this by clicking on the “Paste as Plain Text” button, using the keyboard shortcut [Command + Shift + V], or using your right click button and choose the “Paste and Match Style” option.

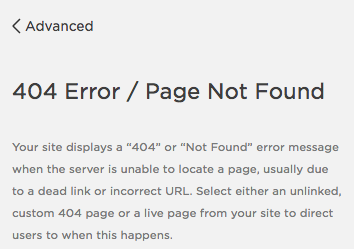
23. Customize your 404 error page
Squarespace has a default 404 error page but you can create and use your own. You can include resources to help visitors search for whatever they’re looking for, browse other blog posts, sign up for your mailing list, check out your products or services, contact you directly, follow you on social media, etc.
Go to Home > Settings > Advanced > 404 Error / Page Not Found
24. Remove the header, pre-footer, or footer
If you’re looking to focus your visitor’s attention within a specific page, it can be helpful to actually hide the header, pre-footer, and footer within that page.
You can do this by adding the following code to the Advanced settings of the page:
<style>
#header {display: none !important;}
#preFooter {display: none !important;}
#footer {display: none !important;}
</style>
Note: This code works with the Hayden template. If it doesn’t work for your site, you can search for the specific template code from Squarespace Answers.
25. Create a line image then use it as a divider
Squarespace provides a line as a content block (see below) but you can create your own line image, upload it, and use it as a custom divider.
Squarespace line:
Own lines:


26. Use a button for your CTA
A call-to-action (CTA) is a marketing term that refers to a prompt or instruction given to an audience to encourage some form of action or response.
Within your website, it helps to add CTAs all around to encourage visitors to sign up for your mailing list, buy a product, book your services, check out a different page, or do something else.
Remember, the more your CTA stands out, the better, which is why I suggest using buttons for your CTA.

You can even style up to three kinds of buttons in Squarespace (small, medium, and large).
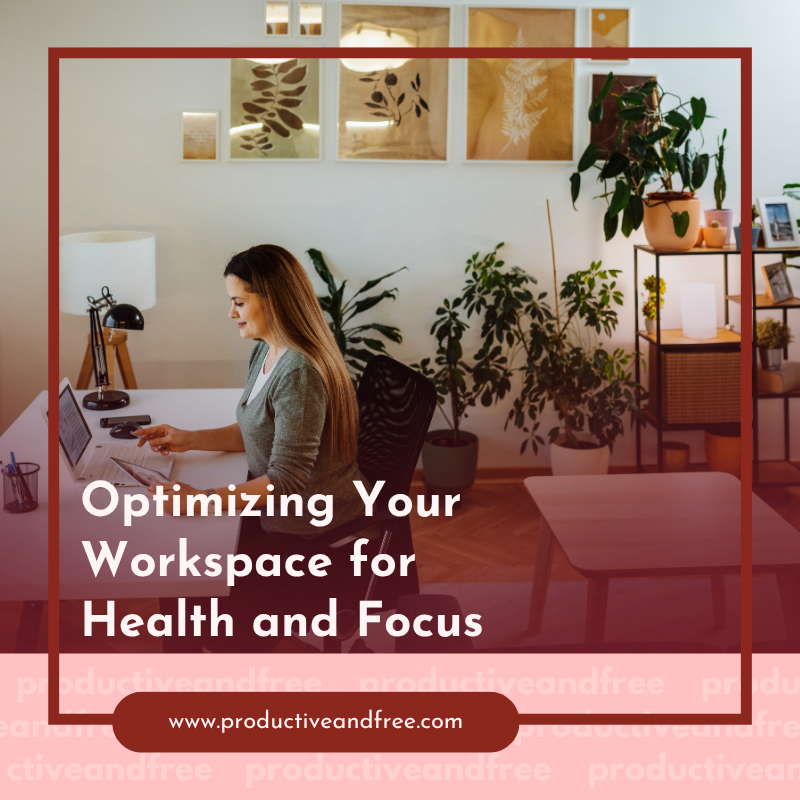
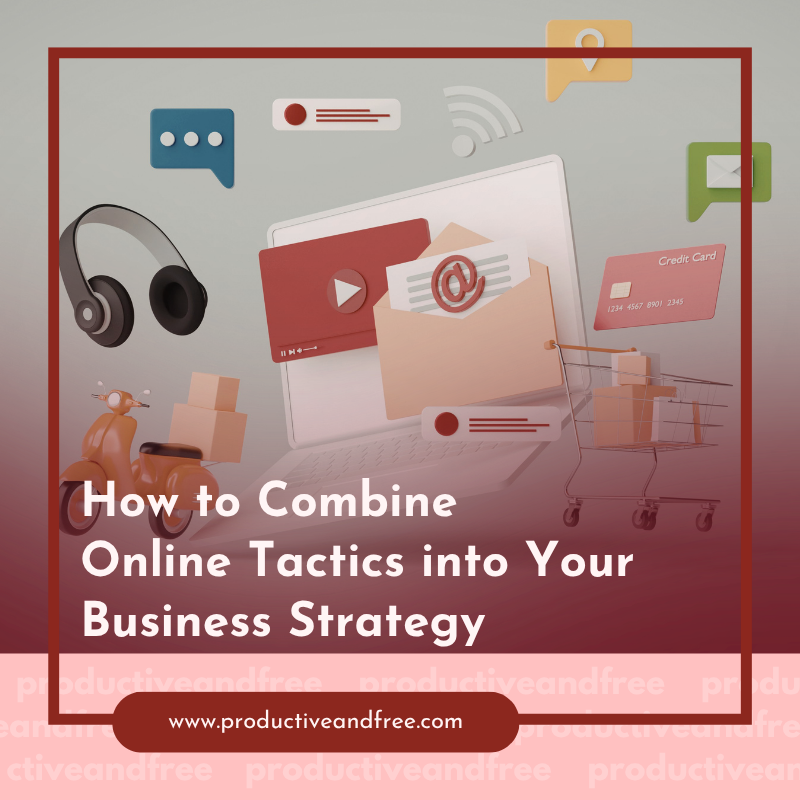
27. Use an image for your CTA
If you want a more customized message with graphics and not just text, you can also use an image as a CTA. Simply design an image, upload it to Squarespace, and link the website or web page you want to direct your visitors to.
Here’s an example:

28. Create multiple blogs
Blogging is a powerful content marketing strategy to attract and convert customers and fortunately, Squarespace makes this very easy.
But aside from your main blog page, you can add multiple “blogs” for other purposes such as to showcase your portfolio, testimonials, different service packages, and many more.
Here’s an example with actual customer reviews of our strategic time-saving templates:
Features Customer Reviews

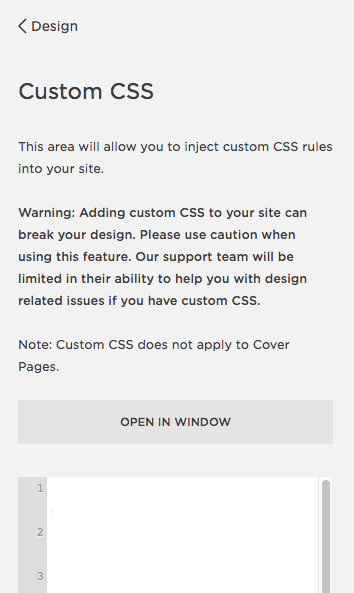
29. Add code
In my opinion, one of the best features of Squarespace is the fact that you don’t need to learn how to code. But if you would like to further customize your site or integrate it with 3rd party tools or apps, there are places you could add code such as the Advanced section of a page’s settings, the Custom CSS section, or Code Injection section.


30. Use URL Mappings
URL mappings might sound “techy” but its simply a way for you to redirect people from no longer existing pages to active pages, or you can use URL mappings to send people to pages using a shorter, more memorable URL.
For example, let’s say you have a blog post URL: www.yoursite.com/blog/no-one-will-remember-this-extremely-long-URL
Using a URL redirect, you can create a shorter URL that you can give to other people (ex. www.yoursite.com/short) which they can remember better. Then once they type it into their browser, they can be redirected to the blog post with the long URL.
Go to Home > Settings > Advanced > URL Mappings
31. Connect Google Analytics
Squarespace has its own built-in analytics to help you monitor your website’s performance and visitor behavior but it’s still no match for Google Analytics.
Once you’ve set up your GA account and integrated it with your site, you can also integrate this with Squarespace and see your top search keywords directly within the platform.

32. Disable the Squarespace Badge
Each new site comes with a default Squarespace badge that says, “Powered by Squarespace,” but you have the option to disable this.
Go to Home > Design > Squarespace Badge

33. Use the official Squarespace coupon code
It’s surprising how few designers and bloggers know about this helpful tip but Squarespace actually offers an official coupon code to get 10% off your first purchase.

Click here to get the Squarespace coupon code.
Share in the comments below: Have you created a Squarespace website for your business already? Which tips and tricks from this list have you heard of before? Which did you learn about just now?
