
How to Create a Checklist Lead Magnet Template Using Google Docs
A surefire way to grow your email list and get more leads is to offer a lead magnet.
By definition, a lead magnet is an incentive offered to people, often website visitors, in exchange for their contact information such as their name and email address.
A lead magnet could take the form of a workbook, challenge, swipe file, webinar, discount, report, or other examples but one of the most straightforward and effective lead magnets is a checklist.
Speaking from experience, even a simple checklist has the potential to drive stellar conversions as long as your lead magnet:
Delivers incredible value
Is aligned with your business offers, and
Is marketed to the right people.
Here’s how to create a checklist lead magnet template for FREE using Google Docs.
1. Create a New Google Doc Using a Template
First, create a new Google Doc by clicking on New > Google Docs > From Template.
Scroll to the bottom of the Template Gallery and select the “Class Notes” template.
2. Edit the Photo
Extend the default photo to reach the margins and then select the “Replace Image” button from the toolbar.
Select a photo from your Google Drive account or from your device and double click on the image so you can rearrange it until you’re satisfied with the cropped image.
3. Edit the Title
Highlight the title and change the text settings.
For this example, I used the font Merriweather, chose size 18 and color “light red 1.”
If you want to make this your default text settings, go to the toolbar and select Title > Click on the right arrow > Select “Update ‘Title’ to match”
Also for this example, I chose not to use any of the headings or line bars but feel free to use them if you want.
4. Choose the Bulleted List Option
For the actual checklist section, highlight the text you want to turn into your checklist items, click on the “Bulleted List” icon from the toolbar, and choose the top right most selection (the one with the tick boxes).
At this point, you can now type all of your checklist items and add short explanations below each item.
For this example, I used the font Roboto, chose size 10 and the color black, and made the checklist items “bold” while the explanation text “normal.”
5. Edit the Footer
Click on the footer section to reveal the footer settings.
Since I’m choosing not to add a cover page for this example, deselect the “Different first page” option so that anything you type in your footer section will be copied to every page of your checklist.
Next, insert your website URL or a short message in the footer section and change the text settings.
For this example, I used font Lato, chose size 12 and the color “light red 1” to match the title.
6. Optional: Add a “What’s Next?” Section
After you finish typing your entire checklist, you might want to add a “What’s Next?” section.
We like to include this section in our lead magnets to direct our subscribers towards taking the next step we want them to take.
You could include a simple statement or short paragraph and end with a strong call-to-action or CTA.
You could invite your subscriber to watch a webinar, join your program, book your services, buy your products, share your lead magnet, etc.
7. Download as a PDF
Once you’re happy with your checklist lead magnet, download the file as a PDF and add it to your email marketing software to send to subscribers.
Here’s a look at what we created today.
Click on the image below to download the sample PDF (no need to sign up).

Conclusion
Creating a checklist lead magnet template is quick and easy especially if you use Google Docs. If you create a template like we did today, you could revise and reuse the file over and over again for multiple pieces of content, saving you both time and money in the long run.
Ready to level up your lead magnets?
Google Docs is a handy tool but what if you want to create MORE than just checklists?
You could grow your email list with other types of lead magnets — workbooks, challenges, webinars, assessments, Q&As, discounts, prompts, planners… the list goes on!
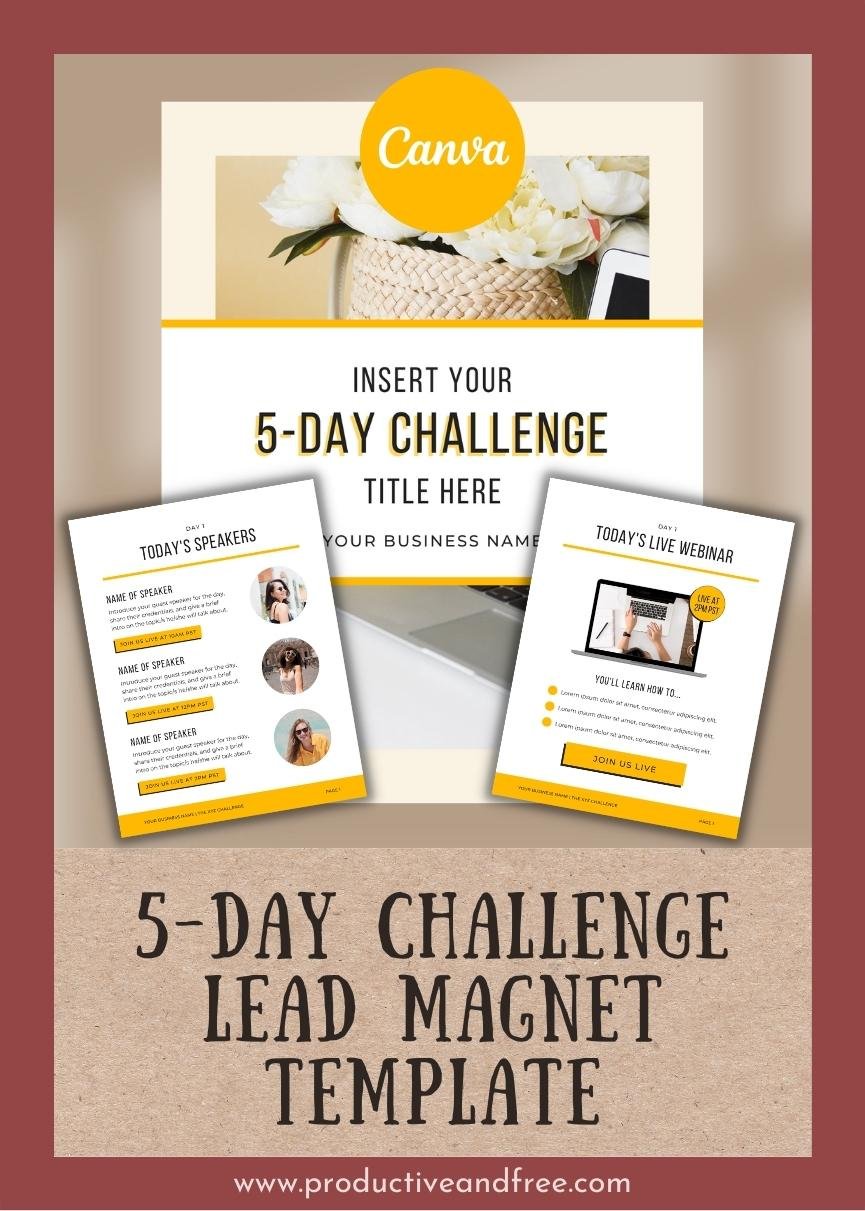
No need to start from scratch though! We have lead magnet templates to help you.









Want to grow your email list and/or earn passive income?
You could take what you already know and share your knowledge through an eBook!
And just in case you don't want to waste time designing one from scratch or spend a lot of money hiring a designer to do it for you, this Canva eBook template bundle can help!
21 eBook page templates to create your ebook
20 social media templates to promote your ebook
Save time and money:
Quick and easy to edit
Fully customizable to match your brand
No need to hire or wait for a designer
Editable using Canva, a FREE online tool
Comes with a FREE design guide and video tutorial
The 21 ebook page templates include:
3 Cover Page Variations
1 About the Author
1 Copyright Page
1 Table of Contents
3 Chapter Intro Variations
11 Content Pages
1 Final Words / Call-to-Action
The 20 social media templates include:
Five (5) Blog Headers / Pinterest Pins
Five (5) Blog Post Graphics / Facebook Posts
Five (5) Sidebar Graphics
Five (5) Ebook Previews / Instagram Posts
Please note stock photos are not included and are used for display purposes only. This template is editable using Canva and can be exported via PDF, PNG, or JPG formats. This is not recommended for creating EPUB files.